You know that piece of furniture- the one your aunt handed down to you, or the one you thrifted because the bones were good but the finish was absolutely not? Maybe it’s orange. Maybe it’s that particular shade of laminate that makes you feel like it’s not worth saving. Whatever the case, the finish is bad and you’re ready for it to be gone. That’s where I come in! Today, I’m going to walk you through how to make MDF furniture look like wood.
That was exactly my situation with a TV cabinet I recently upcycled into a cat cabinet. The MDF was a harsh, warm orange tone that just wasn’t working with the cooler, more intentional vibe I was going for in my space. Instead of painting it a solid color, I decided to take a different approach and the result shocked me! Using a base paint, a decorative glaze, and a stain brush, I was able to give that MDF cabinet a finish that genuinely reads as real wood.

This technique works on MDF, laminate, and melamine which means it’s also an incredible IKEA hack for anyone looking to make a white flat-pack piece look like a custom, wood-finished furniture find.
This post contains affiliate links. If you choose to purchase through them, I may earn a small commission at no extra cost to you. Thank you so much for supporting Stud & Sage, it truly helps me continue sharing DIY projects like this.
What You’ll Need
- Zinsser BIN Primer (link) — the best primer for MDF, period
- Behr Rugged Tan Satin Enamel Interior/Exterior Cabinet, Door & Trim Paint — this is your base coat
- Rust-Oleum Transformations Java Brown Cabinet Decorative Glaze (link) — the magic ingredient
- Stain brush (link) — this is what you’ll use to apply and work the glaze
- Matte topcoat (link) — a couple of layers to seal everything in
- Sandpaper
- Painter’s tape (depending on your project)
A Note on This Technique
I would categorize this as an intermediate-level project. It’s absolutely doable as a beginner, but it has it’s challenges. The glaze has a learning curve, and the honest truth is that now that I’ve done it once, I can already see where I’d do things differently the next time around. That’s not a bad thing it’s just the nature of a technique like this. Go in with patience and realistic expectations, and you will love the result!
The most important thing to know before you start: this is not a rushed project. Between each step, you need to allow a full day of drying time. The whole process from primer to final topcoat will take several days. Trust the process, don’t rush it, and it will be worth every single day of waiting.
Step 1: Sand Your Surface
Before you do anything else, give your MDF a good sand. This is especially important if your piece has an existing finish or paint — you need to rough up the surface enough for the primer to grip onto it properly. For smooth MDF, a medium grit (120) sandpaper is perfect. Wipe away all dust before moving on.

Step 2: Prime with Zinsser BIN
This step is non-negotiable, especially on MDF. Zinsser BIN is a shellac-based primer that seals the surface and prevents bleed-through. MDF is notorious for absorbing paint unevenly without proper priming, and BIN is the best product for solving that problem.
Apply one coat and allow it to dry fully before moving on. I waited a full day here because MDF can be finicky and I wanted to make absolutely sure everything was ready before laying down the base coat.

Step 3: Apply Two Coats of Base Paint
For my base coat I used Behr Rugged Tan in Satin Enamel Cabinet, Door & Trim paint, because I wanted a cooler, more neutral tone to counteract the original orange of the MDF. The warm tan of Rugged Tan reads as a natural wood undertone once the glaze goes over it.
Apply your first coat and allow it to dry completely. I waited a full day between each coat. Then apply your second coat and wait another day before moving on to the glaze. Yes, this feels slow. Yes, it is absolutely necessary.

A note on base coat color: The color you choose here will show through the glaze and affect the final wood tone. A warm tan or greige will give you a natural, warm wood look. A cooler gray-beige will give you a more driftwood or weathered look. Think about what you’re going for before choosing your base.
Step 4: Apply the First Layer of Decorative Glaze
Here’s where things get fun. The Rust-Oleum Transformations Java Brown Decorative Glaze is a semi-transparent glaze that goes on over your painted surface and creates a wood grain effect when applied with a brush in long strokes.

Here’s how I applied it:
Load your stain brush lightly. You do not want a lot of glaze on the brush- this is the most important thing I can tell you. Too much glaze will pool in certain areas and it immediately becomes obvious that you’re looking at paint rather than wood. Less is more here, especially when you’re first getting started.
Work in long, consistent strokes in the direction you want the grain to run. Keep your strokes smooth and deliberate. Think of how actual wood grain flows and try to mimic that with your brush direction.
Use a soft touch at the end of each stroke. Rather than lifting the brush abruptly at the end of a line, gradually ease the pressure off and let the brush leave the surface gently. This softens the end of each stroke and makes the finish look much more natural and less painted.
Work in sections and keep your brush clean. Wipe excess glaze off your brush between strokes to avoid buildup.
I’ll be honest, I started by trying a small hand broom for texture, hoping it would add an extra level of grain-like detail. It didn’t look great. I went back to just the stain brush and that’s what gave me the result I was happy with. Sometimes the simplest tool is the right one.
Allow the first coat of glaze to dry for a full day before evaluating.
Step 5: Assess and Apply a Second Coat of Glaze if Needed
After my first coat dried I looked at it and felt like the color wasn’t quite dark enough- the wood effect was there but it felt a little light and not as rich as I wanted. So I went back in with a second coat of glaze.
The second coat made all the difference. The deeper, darker tone on the second pass was exactly what I was looking for! It looked warmer, richer, and much more convincingly like real stained wood.
Don’t be afraid to do this. If your first coat dries and something feels off about the color or depth, a second coat is a completely valid choice. Just make sure your first coat is fully dry before going back in since applying glaze over wet glaze will cause streaking and uneven finish.
Allow the second coat to dry for a full day.
Step 6: Seal with Matte Topcoat
Once your glaze is fully dry and you’re happy with the result, it’s time to seal everything in. I used a matte topcoat applied in two layers, allowing each coat to dry before applying the next.
The matte finish is intentional here as a satin or gloss topcoat would make the surface look shiny and immediately read as painted rather than wood. Matte keeps the finish looking natural, quiet, and authentic.
Apply your topcoat in thin, even layers. Multiple thin coats will always give a better result than one thick coat. Allow the final coat to dry fully before using or styling the piece.

The Full Timeline
Here’s a realistic day-by-day breakdown of how this process looks:
| Day | Step |
|---|---|
| Day 1 | Sand + Prime with Zinsser BIN |
| Day 2 | First coat of base paint |
| Day 3 | Second coat of base paint |
| Day 4 | First coat of glaze |
| Day 5 | Second coat of glaze (if needed) |
| Day 6 | First coat of matte topcoat |
| Day 7 | Second coat of matte topcoat |
You could potentially compress this timeline if you’re in a warm, dry environment and your layers are drying faster, but I’d always err on the side of waiting longer rather than rushing. Painting over anything that isn’t fully dry is the fastest way to ruin work you’ve already done.
Tips Before You Start
- Don’t overload your brush with glaze: this is the number one mistake and it’s hard to fix once it’s happened
- Test on a scrap piece first: if you have any scrap MDF or cardboard, do a test run before committing to your actual piece. It will help you get a feel for how much glaze to use and how the strokes look
- Keep your strokes long and consistent: short, choppy strokes will look more like texture than wood grain
- Soft touch at the end of every stroke: lift gently rather than stopping abruptly
- Matte topcoat only: a shiny finish will undermine everything you’ve worked toward
- Take your time: this project rewards patience more than almost anything else I’ve done on the blog
Why This Technique Is Worth It
The honest answer is that this technique completely changed the way I look at ugly furniture. That cabinet that was making me cringe every time I walked by it is now one of my favorite things in my home. The finish is warm, rich, and genuinely convincing and the total cost was a fraction of what a new piece of furniture would have run.

Whether you’re upcycling a thrift find, transforming a hand-me-down, or giving an IKEA piece a more custom elevated look, this technique is one of the most rewarding DIY finishes I’ve tried. It takes patience, a light hand, and a few days but the result speaks for itself!
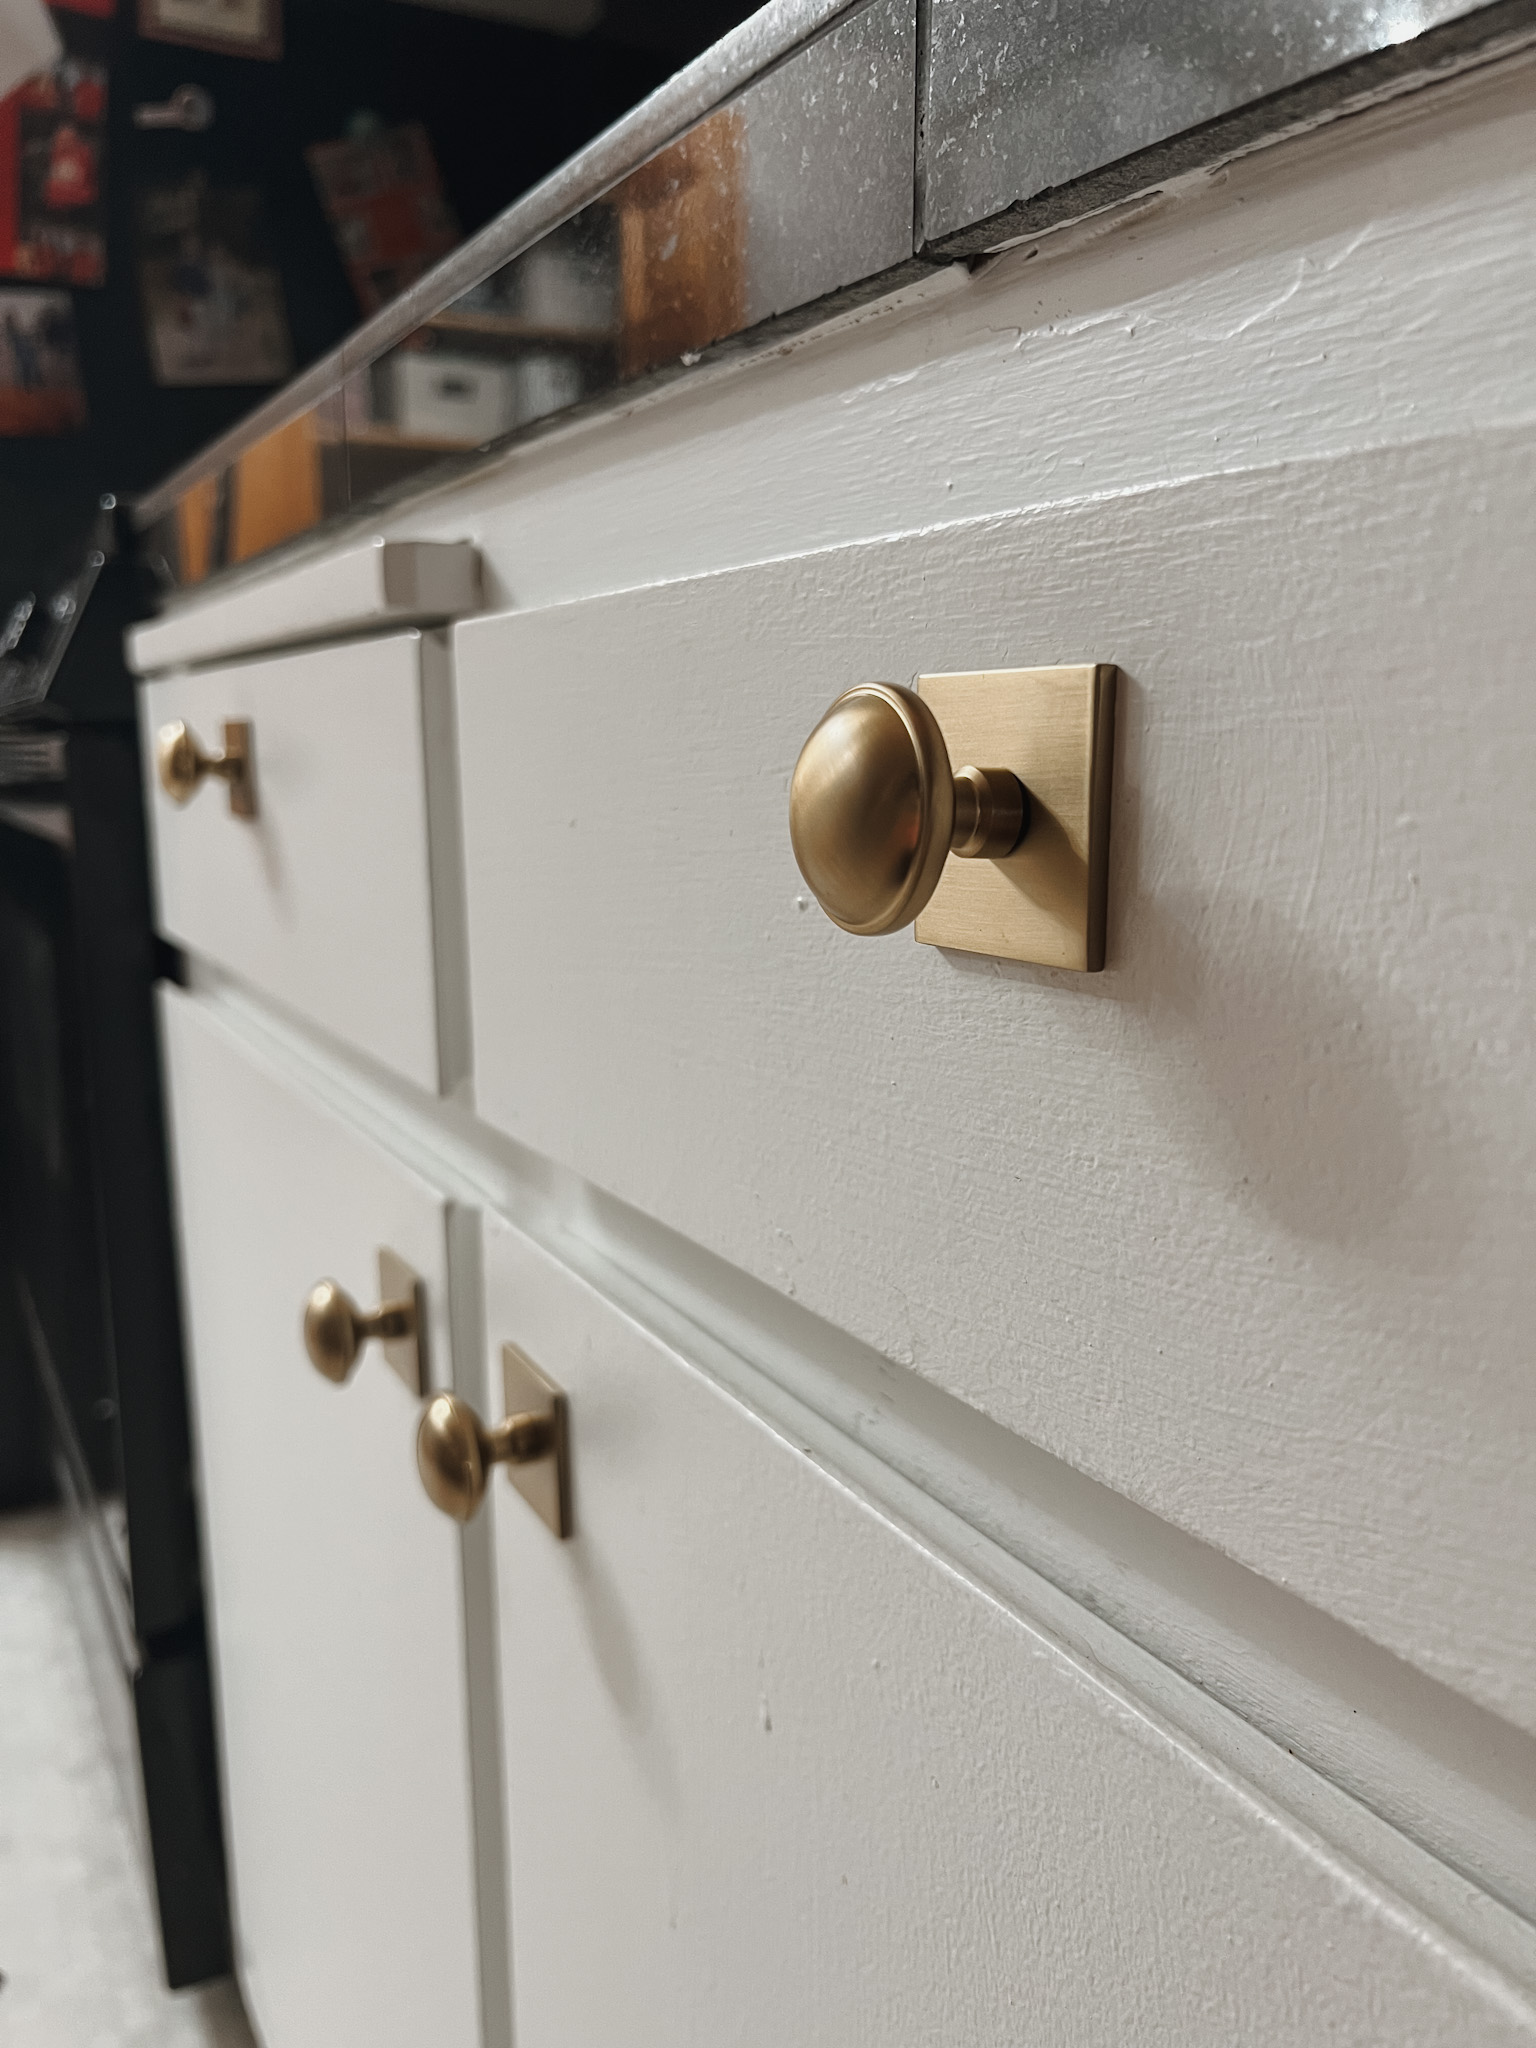
Want to see how I made custom handles for this cabinet? Check it out here
📌 Save this to your DIY & Furniture Makeover Pinterest board!