
If you’re a record collector, you already know the struggle- your collection grows faster than you can figure out where to put everything. Stacking records in a crate or on a shelf is fine, but if you’re anything like me, you consider those album covers to be art. They deserve to be shown off!
I made these DIY vinyl record wall shelves a little while back, and they’ve been one of my favorite projects in my new home. They hold up to 10 records each, they allow me to keep my wall fresh with new artwork, and the best part is that they cost me almost nothing because I used scrap wood I already had on hand. Even as a beginner, you likely have most of these things on hand or will need them for future projects if not.
Let’s get into it!
What You’ll Need
- 2×1 wood (scrap wood works or see my wood suggestions below!)
- Kreg Jig
- Kreg screws
- Wood glue
- Drill
- Saw
- Sander
- Stain of your choice
- Wall anchors
- Level
Affiliate links: I use and love the Kreg Jig Pocket Hole System for so many projects around my home. It’s one of those tools that once you have it, you’ll wonder how you ever lived without it, it’s an essential in my toolbox!
What Wood Should You Use?
I used scrap 2×1 wood I had lying around, which I’d totally recommend doing if you have any on hand because it keeps costs at zero! But if you’re heading to the hardware store, here are a few great options depending on the look you’re going for:
- Pine: Affordable, easy to find, and takes stain beautifully. Great for beginners and the most budget-friendly option.
- Oak: A step up in durability and grain detail. Gives a more polished, high-end look if that’s the vibe you’re going for.
- Poplar: Smooth, lightweight, and easy to work with. A solid middle-ground option.
- Cedar: Has a beautiful natural color and smells amazing, but can be harder to find in smaller dimensions.
For a project like this, honestly pine is the move because it’s inexpensive, widely available, and looks gorgeous once stained.
How to Build Your DIY Vinyl Record Wall Shelves
Step 1: Cut Your Wood to Size
Cut your 2×1 board to your desired shelf depth. I made mine long enough to hold upwards of 15 records with a 5 inch base. You’ll need another two pieces for the front and back of each holder at 4 inches a piece!

Step 2: Sand Everything Smooth
Before assembling, sand all your pieces down so the finished product looks clean and polished. Start with a medium grit (around 120) and finish with a fine grit (220) for a super smooth surface that takes stain evenly.
Step 3: Assemble Using Your Kreg Jig
This is where the Kreg Jig comes in to save the day. Drill your pocket holes into the bottom of the base piece, apply a thin line of wood glue along the joint, and secure the two pieces together using your Kreg screws. The pocket holes keep everything tight and the joint clean, plus no visible screws from the front.
Pro tip: you’ll need 1 1/4” Kreg screws!

Step 4: Stain to Your Liking
Apply your stain of choice with a brush or rag, wiping away any excess as you go. I went with a warm walnut tone to match the rest of my space, but this is totally personal. You can go lighter for a Scandinavian feel or darker for something more rustic and moody. Allow the stain to dry completely before installing.

Step 5: Install on the Wall
Once your stain is fully dry, it’s time to hang them! Here’s how I did it:
- Find your placement – Hold a record up against the wall to eyeball the height and spacing between shelves.
- Use a level – This step is non-negotiable! A slightly crooked holder is all you’ll notice every time you walk into the room.
- Install wall anchors – Drill your anchors into the wall at your marked spots. If you can hit a stud, even better, but anchors will hold these shelves just fine since records are lightweight.
- Screw the shelf into the wall – Drive your screws through the back of the shelf and into the anchors. Give each shelf a little tug to make sure it’s secure before loading it up. You’ll need to use a really small screwdriver, or find a tool that allows you to screw at an angle.

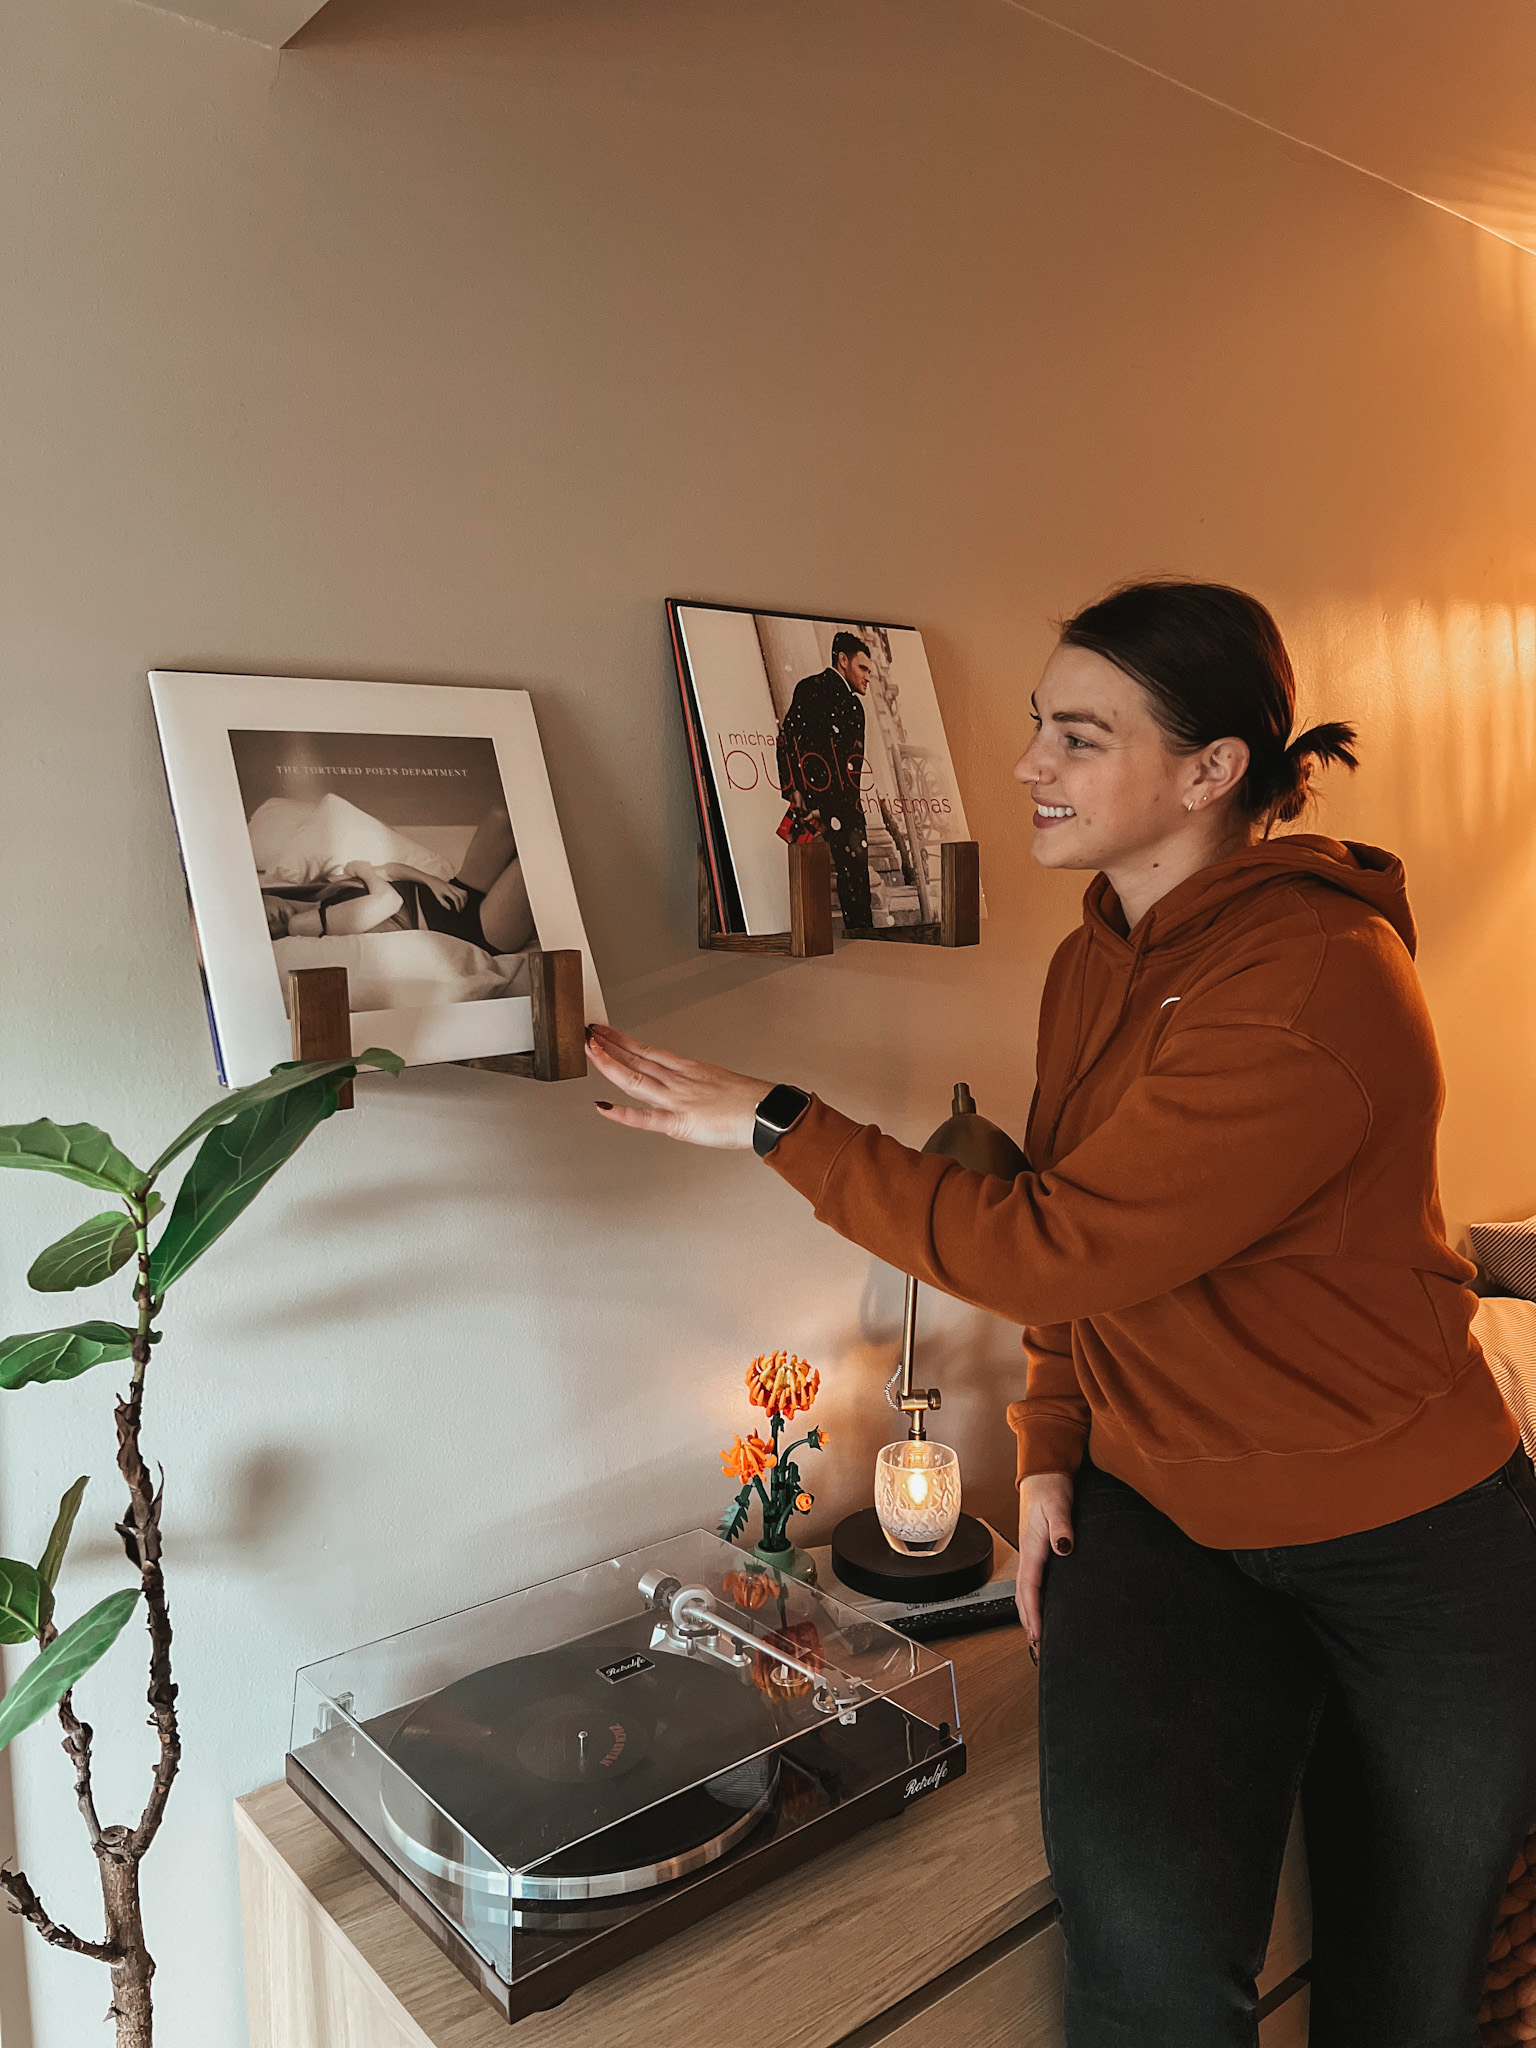
The Finished Product
Once your records are loaded up, the shelves basically become living wall art! You can rotate the album covers whenever you feel like switching things up, which means your wall decor is always fresh. I love changing mine out every season as a way of refreshing my decor without having to buy new things.
The whole build took me under an hour (not counting stain drying time), and the installation was quick and easy. This is truly one of those projects that looks way more impressive than the effort it takes to make.

Tips & Tricks
- Space your shelves intentionally: I’d recommend at least spacing them 6 inches apart (inside corner to inside corner) so the records are stable even if you don’t place them perfectly.
- Mix stain tones: If you’re making multiple shelves, consider doing a couple in different stain colors for an eclectic, collected-over-time look. Or doing some fun shapes? 👀
- Use a stud finder: If your walls are plaster or older drywall, find a stud where you can for extra peace of mind.
- Start with two shelves: See how you like the look before committing to a whole gallery wall. It’s easy to add more later!
Final Thoughts
If you’ve been looking for a way to display your vinyl collection without spending a lot of money, this is your project. A scrap piece of wood, a Kreg Jig, and an afternoon is genuinely all it takes. The records do the decorating for you, you’re just giving them a place to shine.
I’d love to see your finished shelves! Tag me on Instagram @tarahillhome or drop a comment below! Nothing makes my day more than seeing you all bring these projects to life.
Happy building! 🪵

Leave a Reply