You know the feeling. You walk into your home after spending time somewhere that feels really designed and you think why doesn’t mine feel like that? Nine times out of ten, it’s not because you need a renovation. It’s because there are specific things in your house that look cheap, and they’re quietly dragging the whole space down without you even realizing it.
The good news? Most of these things are so easy and inexpensive to fix that you’ll wonder why you waited this long. Here are 13 of the most common offenders and exactly how to fix each one for under $20.
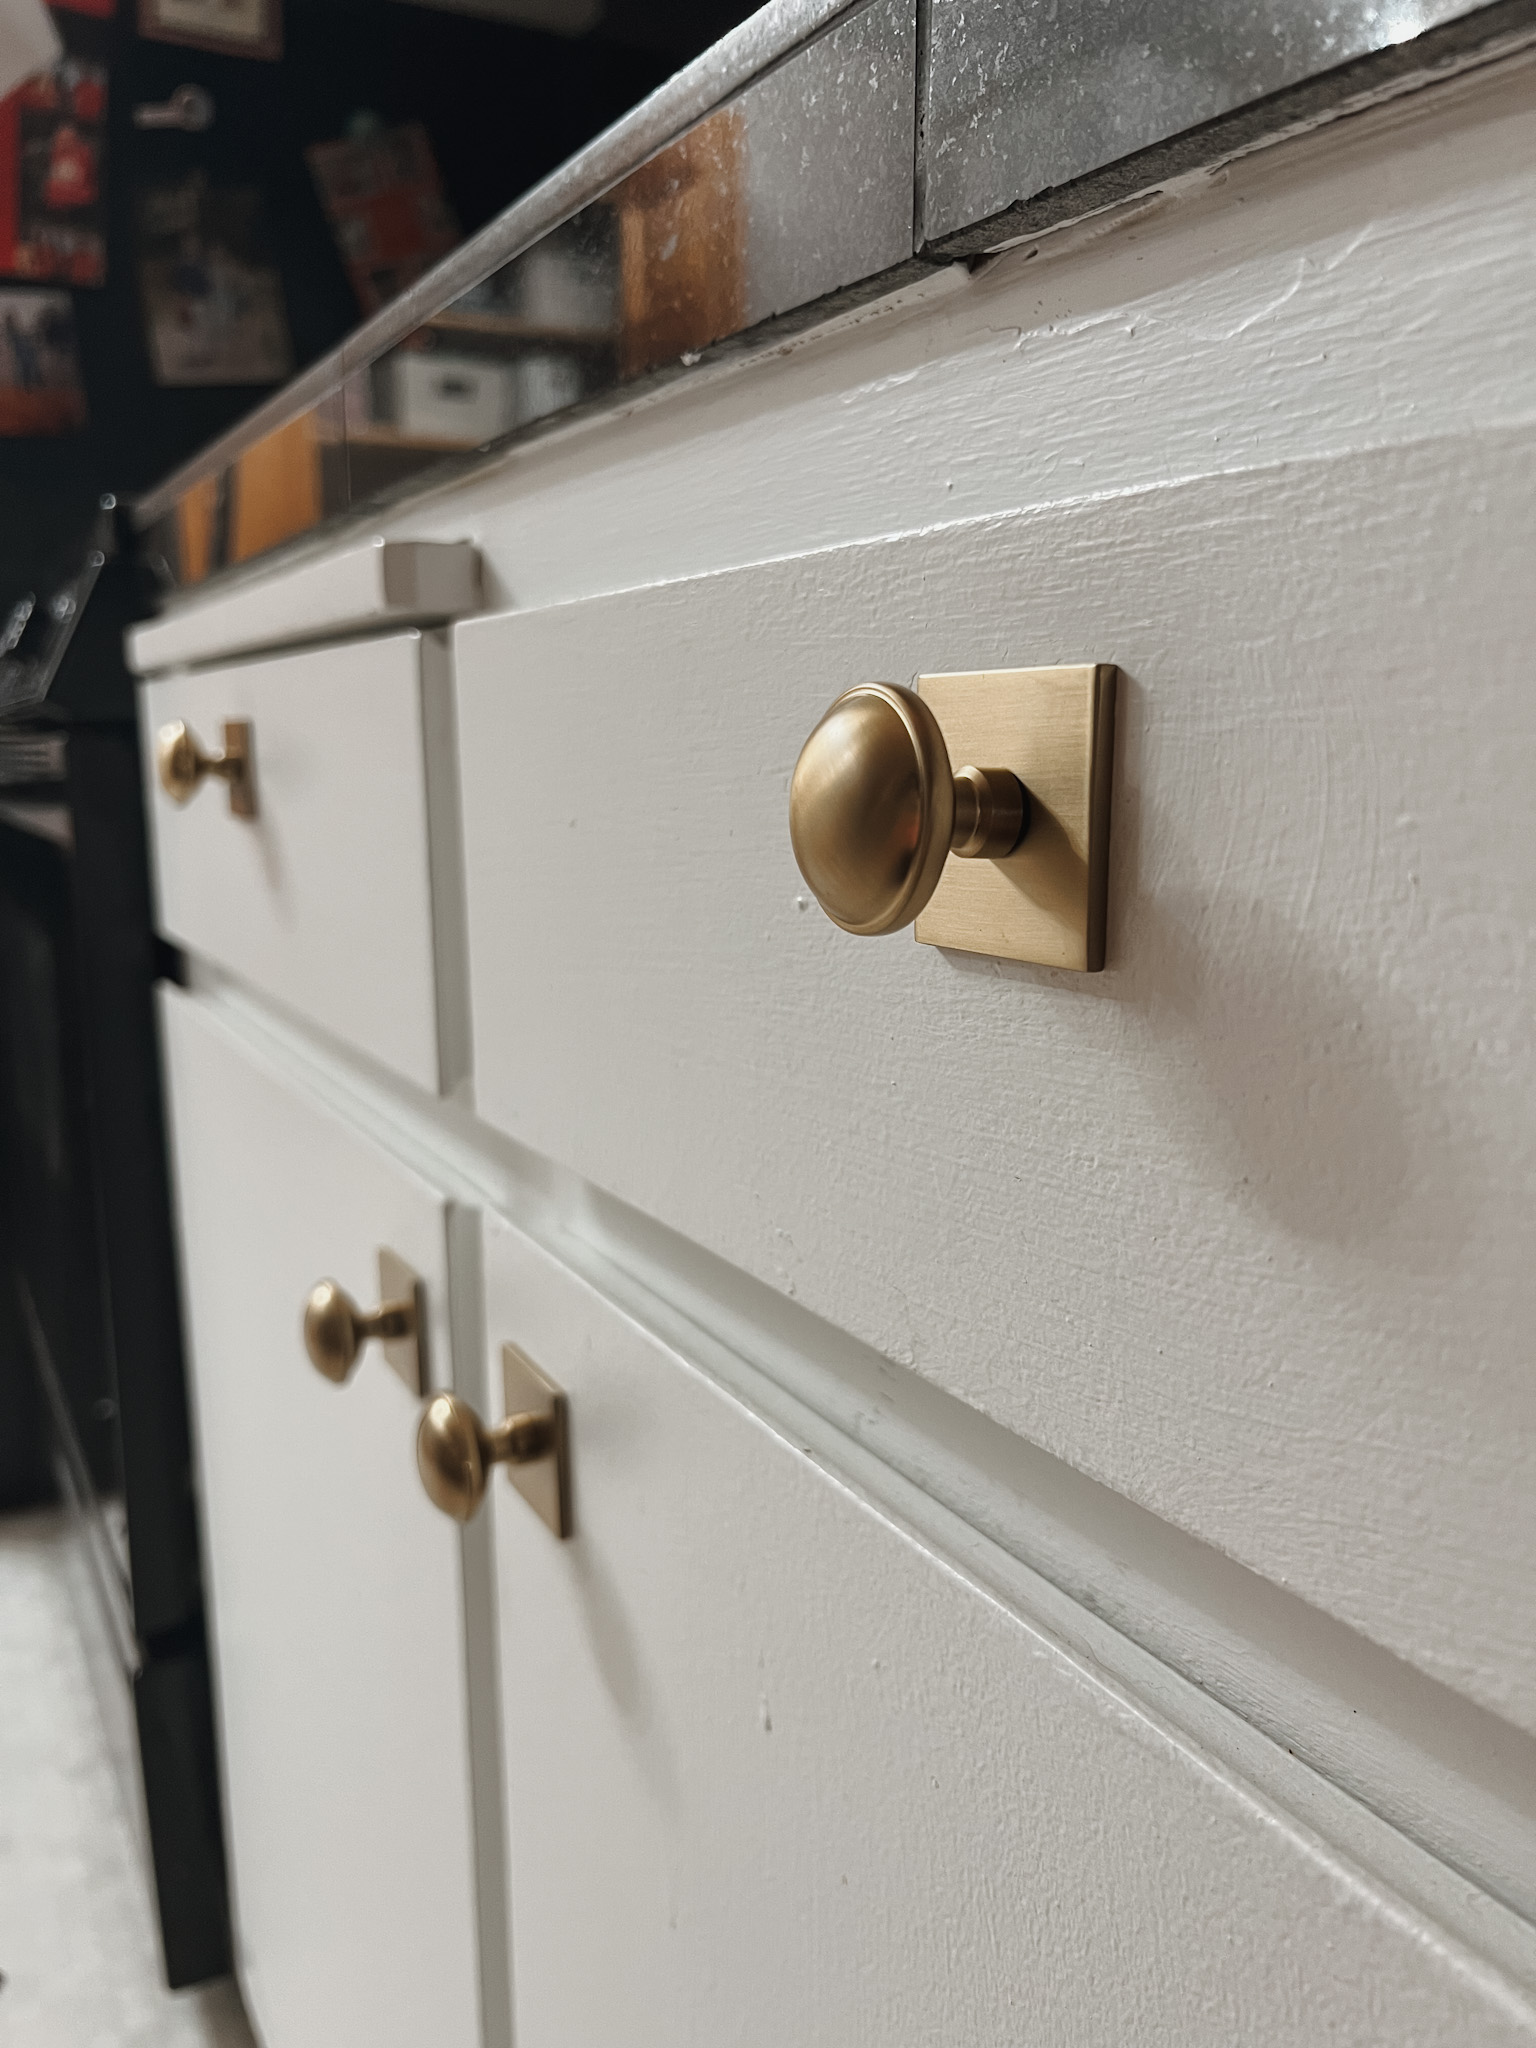
1. Contractor-Grade Cabinet Hardware
Why it looks cheap: Builder hardware is mass-produced, lightweight, and deliberately generic. Cabinet pulls, knobs, and door handles might seem like small details, but they can make a huge impact on the look of your kitchen, bathroom, or even a piece of furniture. Replacing dated handles with something more current is one of the easiest ways to give a dated home a fresh new look.

The fix: Swap them out for matte black, brushed brass, or aged bronze pulls. You don’t need to replace every handle in the house at once. Start with the kitchen or bathroom and work room by room.
Cost: $1–$5 per pull depending on style and finish
Suggestions: Cabinet knob with backplate, cabinet handles
2. Bare White Ceilings
Why it looks cheap: A stark bright white ceiling with zero detail is the single biggest giveaway of a builder-grade home. It makes every room feel unfinished like the space was never quite completed.
The fix: Paint your ceiling. Not white! Try going one shade deeper than your wall color, color-drenching entirely, or using a warm off-white like Sherwin-Williams Alabaster if your walls are white. The ceiling immediately feels intentional and the room gains warmth and depth. For an even bigger impact, add peel-and-stick crown molding along the edge where the ceiling meets the wall. Peel-and-stick crown molding versions cost $1-2 per foot and install without tools beyond a level and a utility knife making it one of the easiest architectural upgrades you can do yourself.
Cost: Under $20 for a small can of ceiling paint or a roll of peel-and-stick molding
Suggestion: peel-and-stick rope crown molding
3. Plastic Light Switch Plates
Why it looks cheap: Wall plates often cost less than $1 each, but yellowed or mismatched ones that don’t match the color of the walls make them look old and make the whole room appear dated. Plastic switch plates are one of those details that nobody consciously notices when they’re right but everyone notices when they’re wrong.
The fix: Replace yellowed switch plates with fresh white ones for $1-2 each, or upgrade to decorative covers in brushed nickel or bronze for $5-15 each in key areas. Pick one finish and use it consistently throughout the room for a cohesive, intentional look.
Cost: $1–$15 depending on finish or style
Suggestions: Antique brass, White, Matte Black
4. Hollow-Core Doors With No Weight
Why it looks cheap: Hollow-core doors are standard in almost every builder-grade home, and they feel exactly like what they are. The hollow sound when they close, the lightweight feel when you open them, and the thin profile all quietly communicate “cheap” to anyone who touches them.
The fix: Replacing hollow-core doors entirely is expensive- but you don’t have to. Two fast and affordable fixes that make a huge difference: add a door stop (the kind that mounts to the floor or wall) which immediately makes closing feel more intentional, and upgrade your door hardware. Replacing door hardware on all your doors makes them feel brand new without replacing the actual door. A solid, weighty handle in a quality finish transforms the feel of a hollow door completely.
Cost: $8–$20 for quality door hardware
Suggestions: Door stop, door knobs
5. Plain White Outlet Covers
Why it looks cheap: Like switch plates, plain white outlet covers are one of those details that blends into the background until it doesn’t. Yellowed, cracked, or mismatched outlet covers across a room create visual noise that makes even a well-decorated space feel unfinished.
The fix: Replace them with screw-less outlet covers. These have no visible screw in the center and give a much cleaner, more modern look. Match the finish to your switch plates for a cohesive look throughout the room. This is a five-minute fix per outlet with just a screwdriver.
Cost: $5 – $15 per cover
Suggestion: screw-less outlet cover
6. Chrome Bathroom Fixtures
Why it looks cheap: Shiny chrome fixtures are the signature of a builder-grade bathroom and they date a space instantly. Swap these out for modern matte black or brushed nickel fixtures instantly elevates the look of your kitchen or bathroom.
The fix: You don’t have to replace your fixtures entirely. Swap your shower head for a matte black or brushed nickel alternative since this is one of the easiest plumbing swaps there is, requiring no tools beyond a wrench. A new shower head in a quality finish costs as little as $15-20 and immediately changes the entire feel of the bathroom.
Cost: $15–$20 for a budget-friendly shower head upgrade
Product link: Shower head
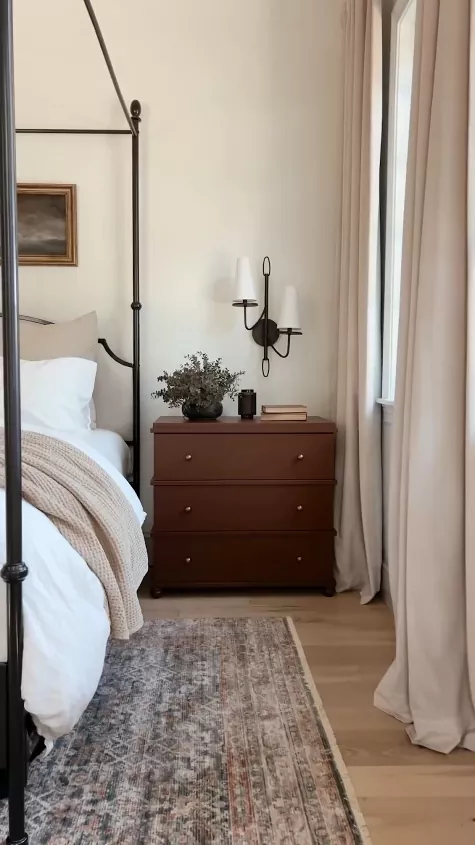
7. Curtain Rods Hung Too Low
Why it looks cheap: Hanging a curtain rod directly above the window frame is one of the most common decorating mistakes and one of the most impactful. Low-hung curtains make ceilings feel shorter, windows feel smaller, and the whole room feel unfinished. It immediately signals that the curtains were an afterthought rather than a design decision. Short curtains that hover above the floor make the problem even worse — the “floating” effect makes a room feel awkward and incomplete regardless of how nice the curtains themselves are.

The fix: Mount your curtain rod as close to the ceiling as possible and make sure your curtains are long enough to reach the floor. For the cleanest, most dramatic look, swap your standard curtain rod for a ceiling track curtain rail. The IKEA VIDGA system is one of the most affordable options available and gives a sleek, modern finish that looks far more intentional than a traditional rod. I have installed them in my last three homes and the difference is always dramatic. The room immediately feels taller, the windows feel larger, and the whole space feels professionally designed.
Cost: Under $20 for the track starter set
Product: IKEA VIDGA
8. Boob Lights (Flush Mount Ceiling Fixtures)
Why it looks cheap: You know the ones- the round frosted glass dome fixture that came in every bedroom and hallway of every builder-grade home built in the last thirty years. If you never replaced the builder-grade lighting that came with your home, consider upgrading. There are tons of affordable, stylish light fixtures available online through retailers like Wayfair and Amazon that modernize light fixtures and enhance the visual appeal of the space.
The fix: Replace them. A simple semi-flush mount in black, brass, or rattan can be found for under $20 on Amazon and the swap takes about 15 minutes with a screwdriver. This is one of the highest-return swaps on this entire list.
Cost: $15–$20 for a budget-friendly replacement fixture
Suggestion: Ceramic semi flush mount ceiling light
9. Vinyl Transition Strips Between Floors
Why it looks cheap: Those flexible gold or silver vinyl strips that transition between two different flooring types are purely functional- and they look it. They immediately signal that flooring was laid on a budget and without much thought to the details.
The fix: Replace them with solid T-molding transition strips in a finish that coordinates with your flooring. These look infinitely more intentional, are inexpensive, and install easily with adhesive or a track system. Alternatively, if the height difference allows it, remove the transition strip entirely and use a thin bead of matching caulk for the cleanest possible look.
Cost: $8–$18 for a quality transition strip
10. Builder-Grade Bathroom Mirror
Why it looks cheap: The standard frameless plate glass mirror glued directly to the bathroom wall is one of the most universal builder-grade offenders. It looks unfinished, impersonal, and (especially as it ages) distinctly cheap.
The fix: You have two options here. First, add a frame directly to your existing mirror using a DIY mirror frame kit: DIY frame kits start around $100 and attach to existing builder-grade mirrors using clips and strips, making standard bathroom mirrors look completely custom. Second, if your mirror is smaller, replace it entirely with a vintage or arch-style mirror leaned against the wall. This is a far more interesting look for very little money.
Cost: $20 – $30 for an affordable replacement mirror
Suggestions: Metal framed vanity mirror, arched vanity mirror, wood framed mirror
11. Mismatched or Dated Door Hinges
Why it looks cheap: You’ve updated your hardware, your switch plates, your fixtures, but if your door hinges are still shiny brass from 1995 or flat silver that clashes with everything else, they’ll undermine all of it. Mismatched metal finishes throughout a room create visual inconsistency that makes the space feel unconsidered.
The fix: Replace your door hinges with ones that match your chosen metal finish throughout the space- matte black, brushed nickel, or aged bronze. Most interior doors use standard 3.5″ hinges which are inexpensive and easy to swap with just a screwdriver.
Cost: $8–$15 for a set of three hinges per door
Suggestion: Heavy duty door hinge
12. Yellowed or Cheap Caulk Around Tubs and Sinks
Why it looks cheap: Dingy grout makes clean bathrooms look dirty. Even a beautifully designed bathroom can be undone by cracked, yellowed caulk lines around the tub or sink. It reads as neglected and tired regardless of everything else in the room.
The fix: Remove the old caulk with a utility knife and apply a fresh bead of bright white silicone caulk. This takes about 30 minutes, costs under $10, and makes the entire bathroom feel cleaner and more maintained. While you’re at it, run a grout pen along any grout lines that have darkened. The transformation is immediate and almost unbelievable for the effort involved.
Cost: $5–$15 for caulk and a grout pen
My favorite: Grout pen
13. Flat or Single-Layer Window Treatments
Why it looks cheap: A single thin curtain panel hung too low and too short is one of the fastest ways to make a room feel unfinished. Flat, unlined curtains that let in harsh light rather than filtering it softly have the same effect.
The fix: Layer your window treatments. Start with a simple roller blind or sheer close to the glass for light control, then add a floor-length curtain panel hung as close to the ceiling as possible for drama and softness. The layered look is what you see in every well-designed room and it costs far less than you’d think to recreate at home.
Cost: $15–$20 for affordable curtain panels
Suggestion: Linen back tab curtains
The Total Damage If You Focus on Just The Bathroom
Here’s the best part. If you tackled every single item on this list for, let’s say, just the bathroom: hardware, switch plates, outlet covers, ceiling paint, shower head, transition strips, mirror, hinges, and caulk, here’s what you’d spend:
| Fix | Estimated Cost |
|---|---|
| Cabinet hardware | $15 |
| Ceiling paint (small can) | $15 |
| Light switch plate | $13 |
| Outlet covers | $13 |
| Shower head | $20 |
| Transition strip | $15 |
| New Mirror | $20 |
| Door hinges | $15 |
| Caulk + grout pen | $15 |
| Total | $141 |
Less than $150 to fix every single thing in your bathroom that looks cheap. That’s less than one piece of furniture and the impact is infinitely more transformative!
Final Thoughts
The things in your house that look cheap are almost never the big things, they’re the details. The switch plates nobody notices until they’re wrong. The fixture everyone’s used to but nobody loves. The caulk that’s been yellowing for three years. Fix the details and the whole house changes. Start with one room, pick the two or three fixes that will have the biggest impact, and go from there.
Your home should feel like you, not like whoever built it.